springframework-course
Create Spring MVC Project
We may construct a Spring MVC project in two methods.
1. Manual Configuration
If you prefer a more hands-on approach, you can manually construct a Spring MVC project by specifying the essential components and setting up the project structure. Typically, you would begin by creating a new Maven or Gradle project and adding the appropriate Spring MVC dependencies. The Spring DispatcherServlet would then be configured, controllers would be created, views (templates or JSPs) defined, and any extra components (e.g., data access, security) would be set up. This method allows greater flexibility and control over project settings, but it necessitates a better grasp of Spring MVC’s internals.
Configure a Spring MVC project by following these steps in IntelliJ
-
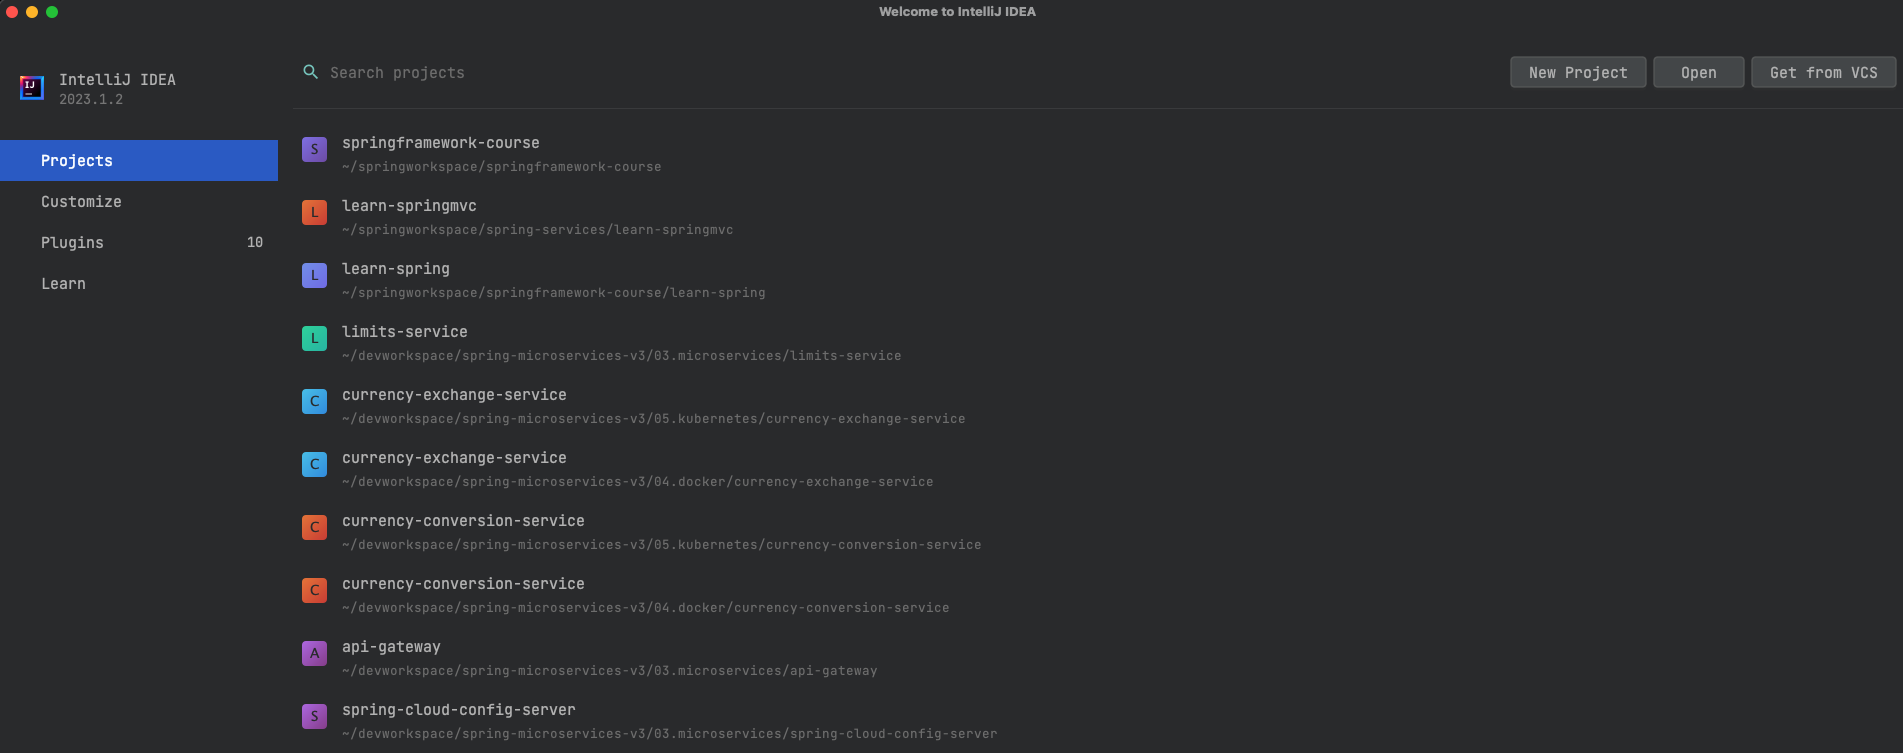
Open your IntelliJ IDEA and click on a new project.
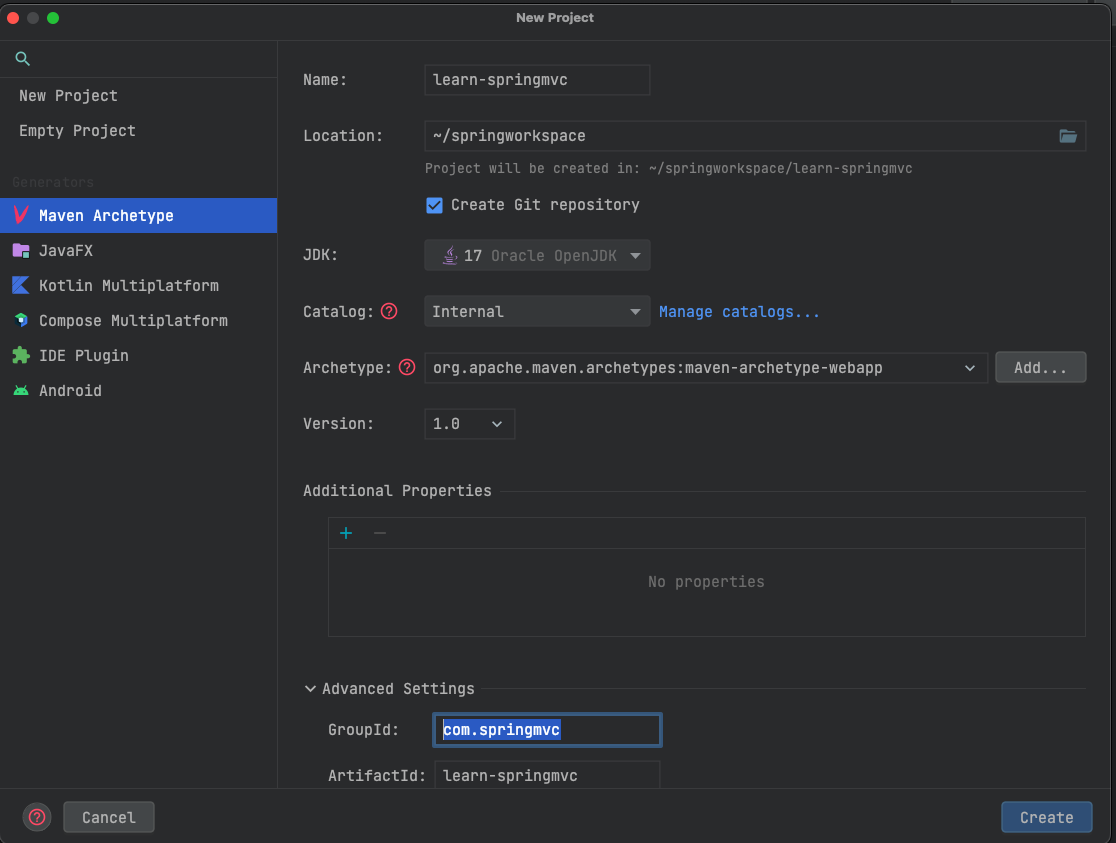
- Choose Maven ArcheType from the left and then check Create from archetype. Search
for
org.apache.maven.archetypes.maven-archetype-webappand fill the details with your project and Click the * *Create** Button- Name: learn-springmvc
- GroupId : com.springmvc
- ArtifactId: learn-springmvc
-
Wait for a project to open in IDE, and Include the following dependent in your
pom.xmlfile’s dependencies<dependency> <groupId>org.springframework</groupId> <artifactId>spring-webmvc</artifactId> <version>6.0.9</version> </dependency>Complete
pom.xmlshould be<project xmlns="http://maven.apache.org/POM/4.0.0" xmlns:xsi="http://www.w3.org/2001/XMLSchema-instance" xsi:schemaLocation="http://maven.apache.org/POM/4.0.0 http://maven.apache.org/maven-v4_0_0.xsd"> <modelVersion>4.0.0</modelVersion> <groupId>com.springmvc</groupId> <artifactId>learn-springmvc</artifactId> <packaging>war</packaging> <properties> <maven.compiler.source>17</maven.compiler.source> <maven.compiler.target>17</maven.compiler.target> </properties> <version>1.0-SNAPSHOT</version> <name>learn-springmvc Maven Webapp</name> <url>http://maven.apache.org</url> <dependencies> <dependency> <groupId>org.springframework</groupId> <artifactId>spring-webmvc</artifactId> <version>6.0.9</version> </dependency> <dependency> <groupId>junit</groupId> <artifactId>junit</artifactId> <version>3.8.1</version> <scope>test</scope> </dependency> </dependencies> <build> <finalName>learn-springmvc</finalName> <pluginManagement> <plugins> <plugin> <groupId>org.apache.maven.plugins</groupId> <artifactId>maven-war-plugin</artifactId> <version>3.3.2</version> </plugin> </plugins> </pluginManagement> </build> </project>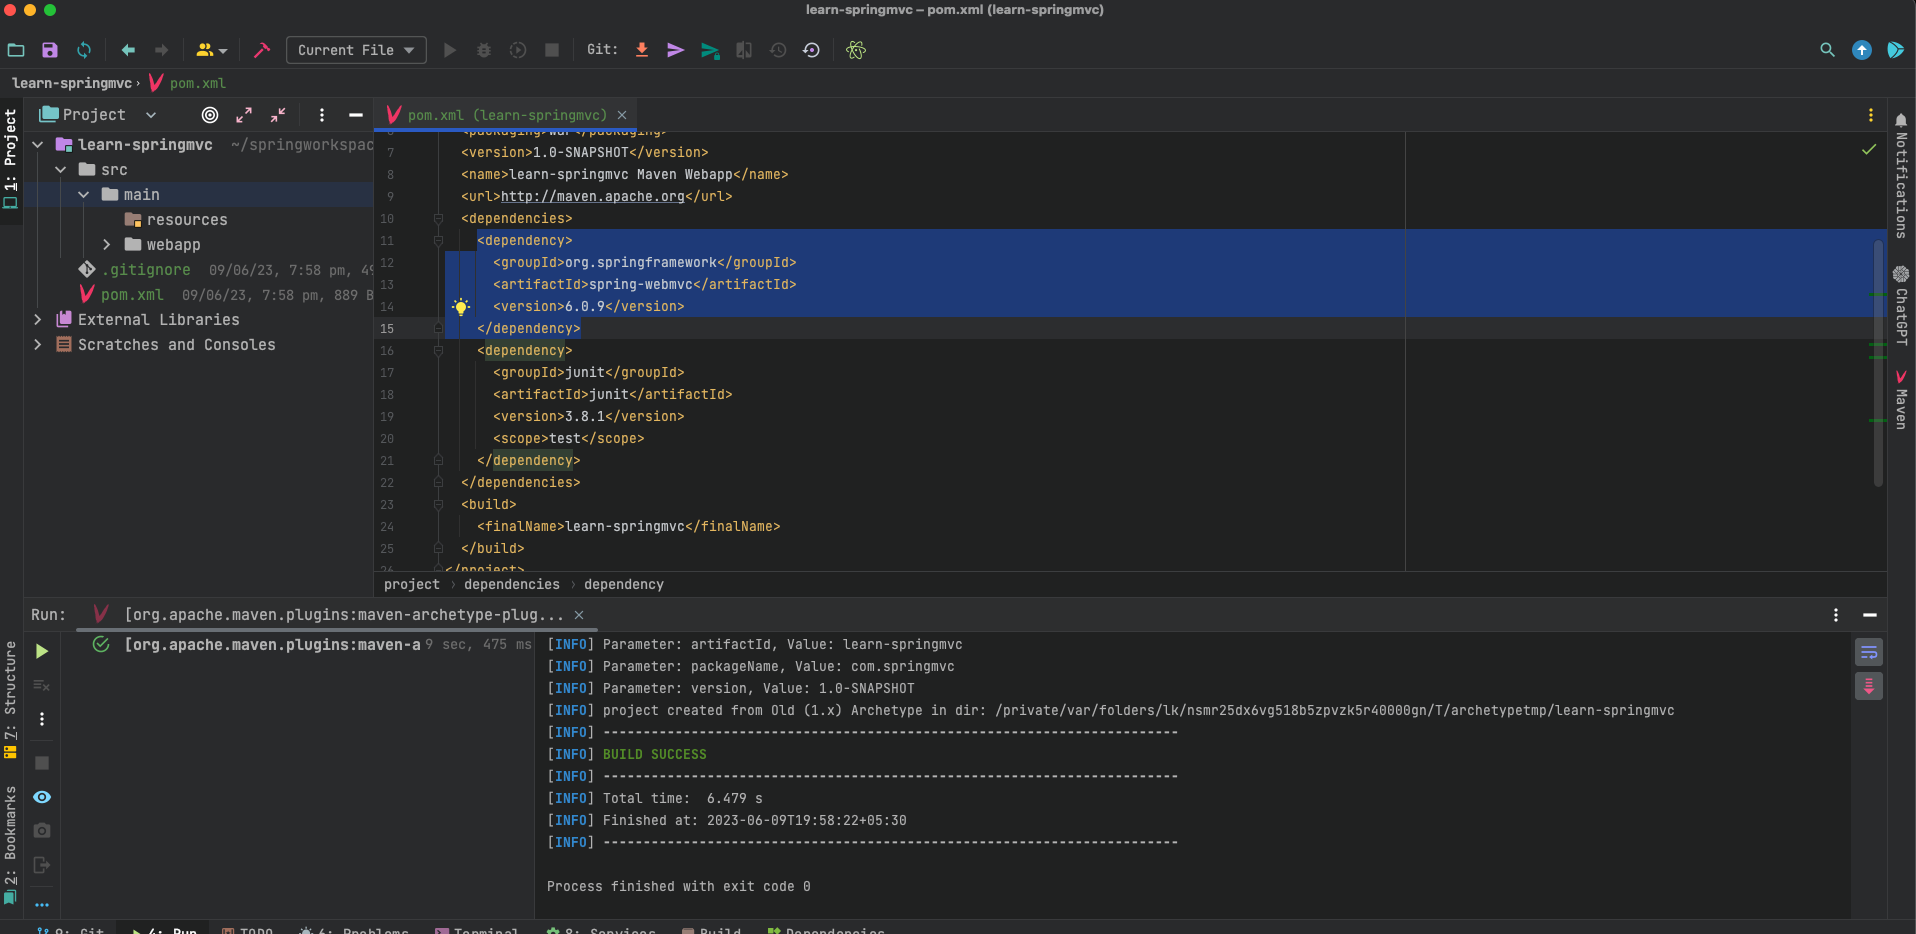
-
Click on the Maven tab on the right and click on the sync button to reload the
pox.xml. -
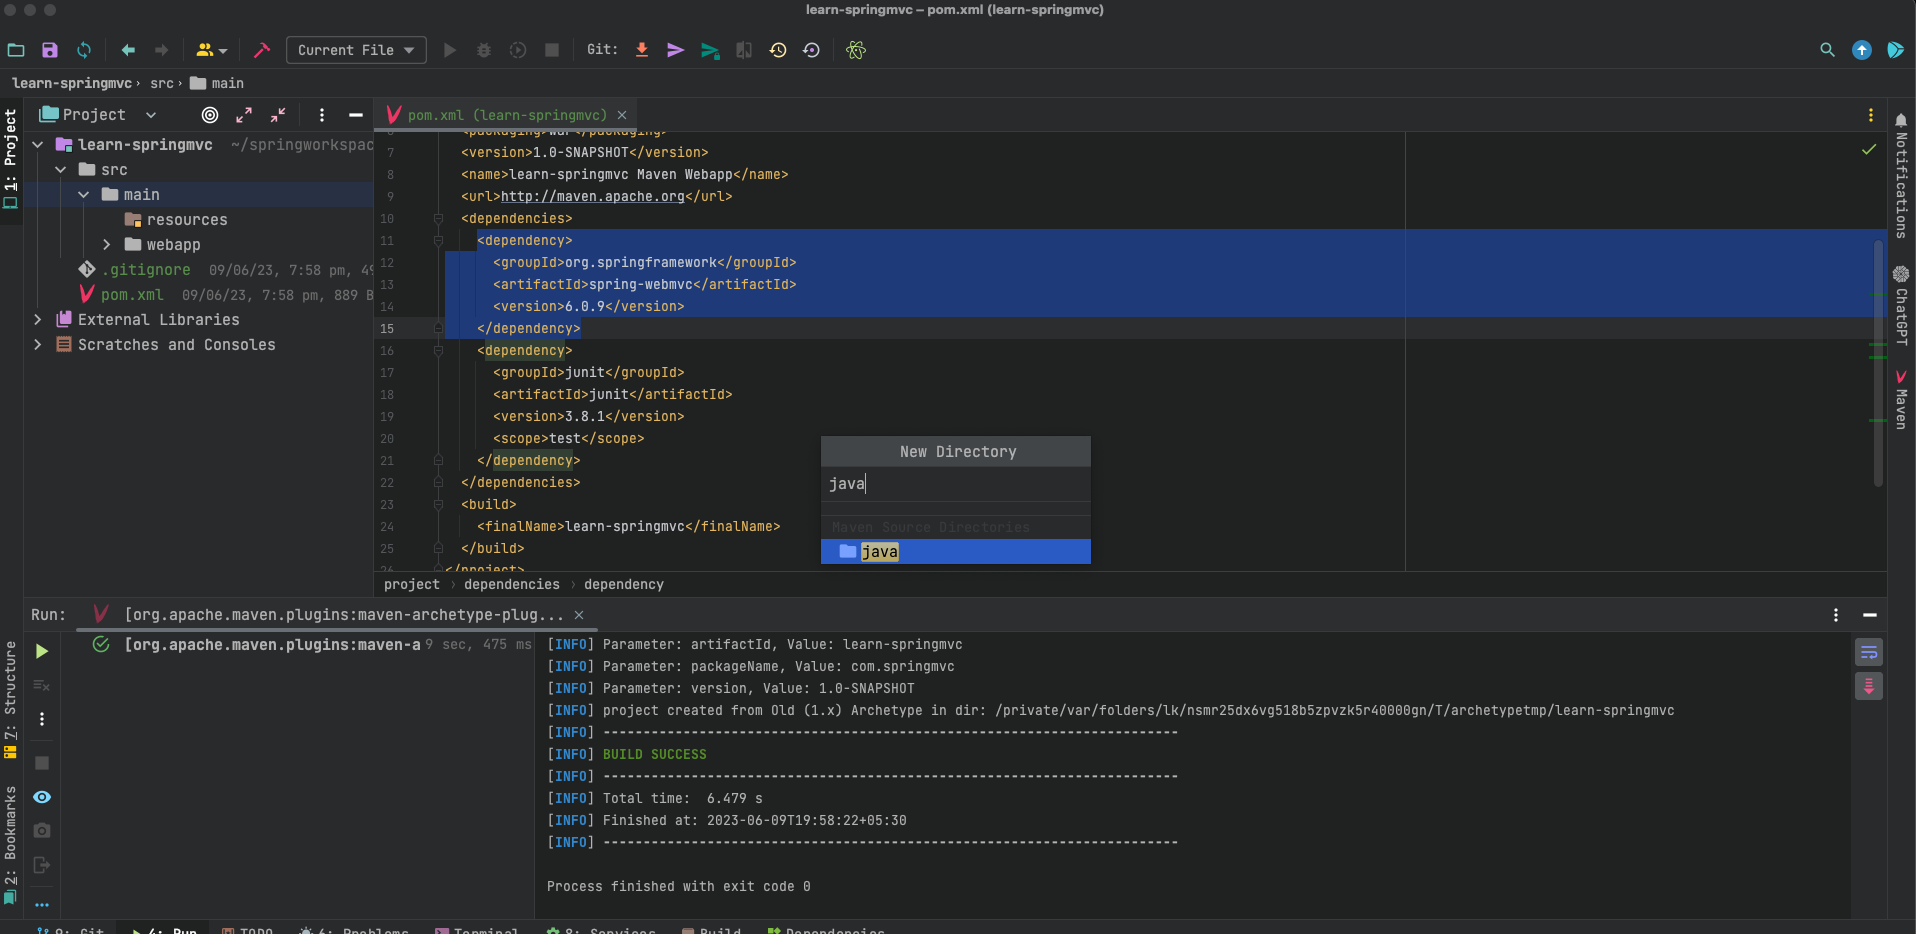
Create two new folders in the main folder, java and resources, as seen in the screenshot below. We shall keep all *.java files in java and all static resources in resources.
- Create a new class in java directory
com.springmvc.HelloController, Here com.springmvc is the name of the base-package and HelloController is the name of our class.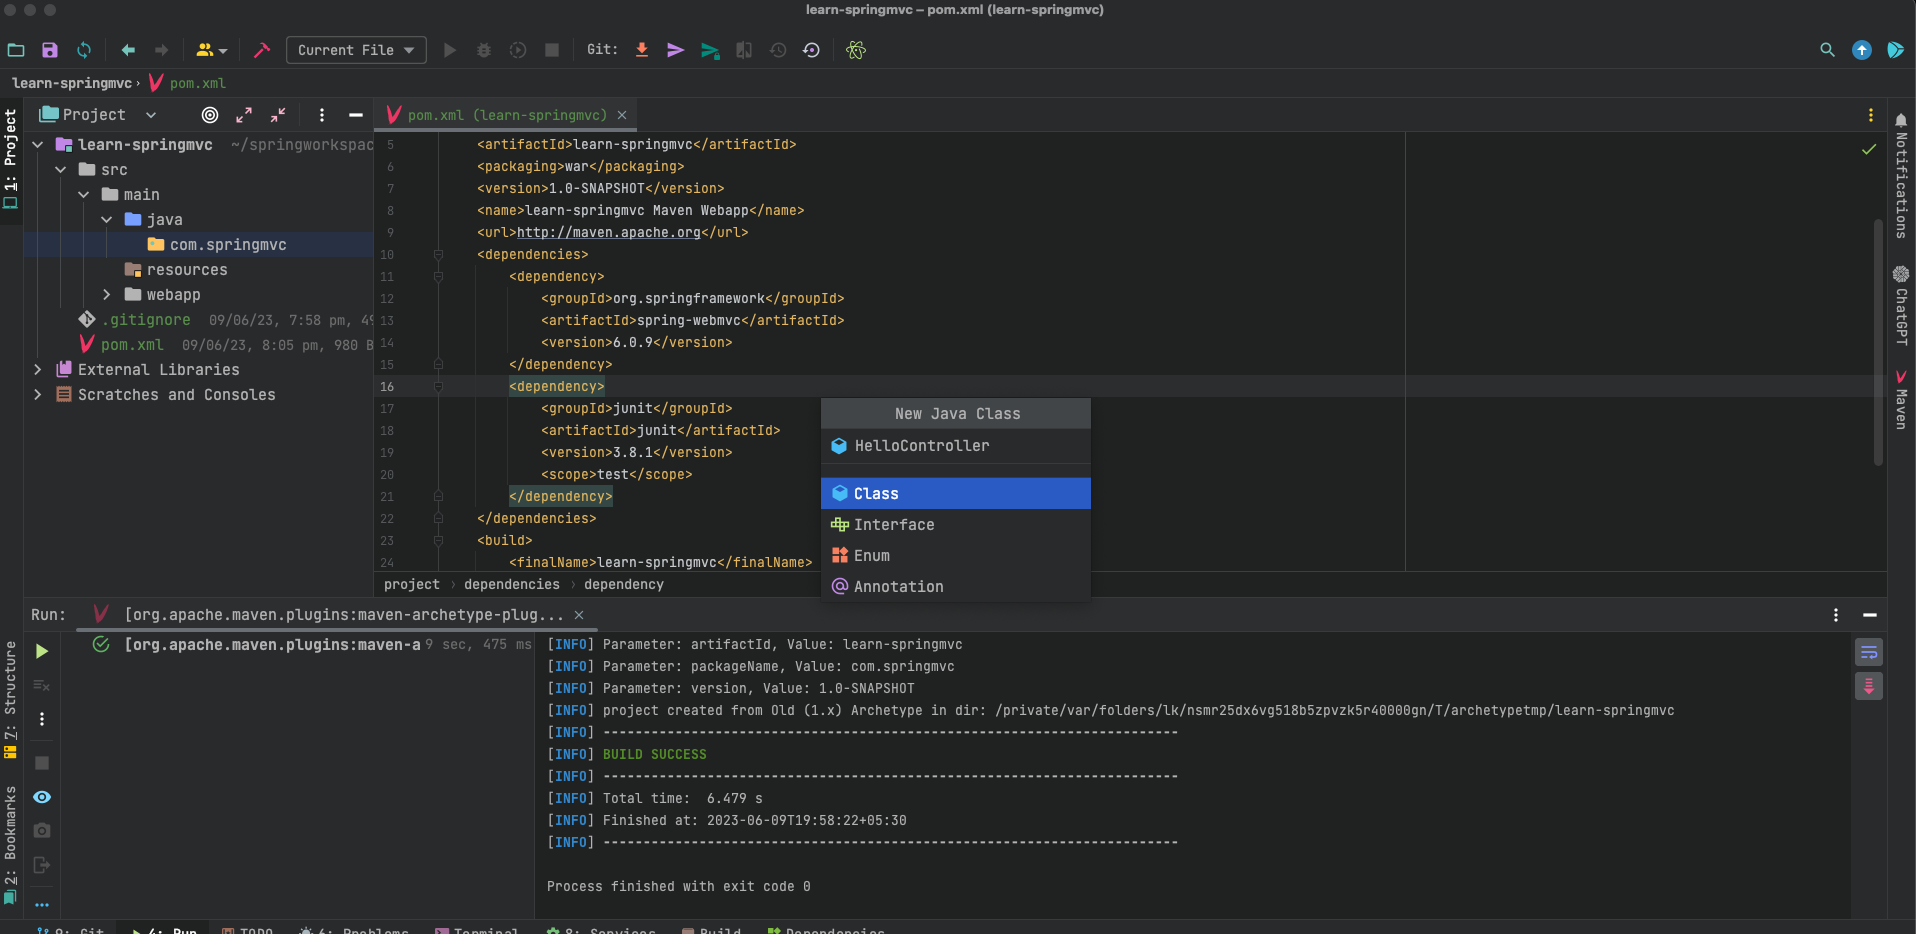
package com.springmvc; import org.springframework.stereotype.Controller; import org.springframework.ui.ModelMap; import org.springframework.web.bind.annotation.RequestMapping; import org.springframework.web.bind.annotation.RequestMethod; @Controller public class HelloController { @RequestMapping(value = "/hello_world", method = RequestMethod.GET) public String helloWorld(ModelMap modelMap) { modelMap.addAttribute("message", "Hello World and Welcome to Spring MVC!"); return "hello"; // return the name of the file to be loaded, in this context hello.jsp } } - Create a new directory called jsp inside WEB-INF directory (assuming you’re using jsp as the template engine).
For this example, let’s create a file named
hello.jsp.
    <!DOCTYPE html>
    <html lang="en">
    <head>
        <meta charset="UTF-8">
        <title>Spring MVC Example</title>
    </head>
    <body>
    <h1>${message}</h1>
    </body>
    </html>
- Create a new file named
web.xmlwithin the WEB-INF directory and update its contents as seen in the screenshot below.<?xml version="1.0" encoding="UTF-8"?> <web-app xmlns="http://java.sun.com/xml/ns/javaee" xmlns:xsi="http://www.w3.org/2001/XMLSchema-instance" xsi:schemeLocation=" http://java.sun.com/xml/ns/javaee http://java.sun.com/xml/ns/javaee/web-app_3_0.xsd"> <display-name>Spring MVC Application</display-name> <!-- Step 1: Configure Spring MVC Dispatcher Servlet --> <servlet> <servlet-name>dispatcher</servlet-name> <servlet-class>org.springframework.web.servlet.DispatcherServlet</servlet-class> <init-param> <param-name>contextConfigLocation</param-name> <param-value>/WEB-INF/helloweb-servlet.xml</param-value> </init-param> <load-on-startup>1</load-on-startup> </servlet> <!-- Step 2: Set up URL mapping for Spring MVC Dispatcher Servlet --> <servlet-mapping> <servlet-name>dispatcher</servlet-name> <url-pattern>/</url-pattern> </servlet-mapping> </web-app> - Make a new file named
helloweb-servlet.xmland edit its contents as seen in the screenshot below.
<?xml version="1.0" encoding="UTF-8"?>
<beans xmlns="http://www.springframework.org/schema/beans"
       xmlns:xsi="http://www.w3.org/2001/XMLSchema-instance"
       xmlns:context="http://www.springframework.org/schema/context"
       xmlns:mvc="http://www.springframework.org/schema/mvc"
       xsi:schemaLocation="
      http://www.springframework.org/schema/beans
       http://www.springframework.org/schema/beans/spring-beans.xsd
       http://www.springframework.org/schema/context
       http://www.springframework.org/schema/context/spring-context.xsd
       http://www.springframework.org/schema/mvc
        http://www.springframework.org/schema/mvc/spring-mvc.xsd">

    <!-- Change the name of the package to your base-package -->
    <context:component-scan base-package="com.springmvc"/>
    <mvc:annotation-driven/>

    <bean class="org.springframework.web.servlet.view.InternalResourceViewResolver">
        <property name="prefix" value="/WEB-INF/jsp/"/>
        <property name="suffix" value=".jsp"/>
    </bean>

</beans>
-
Download the Apache Tomcat and extract the compressed download.
-
Install the Smart Tomcat plugin
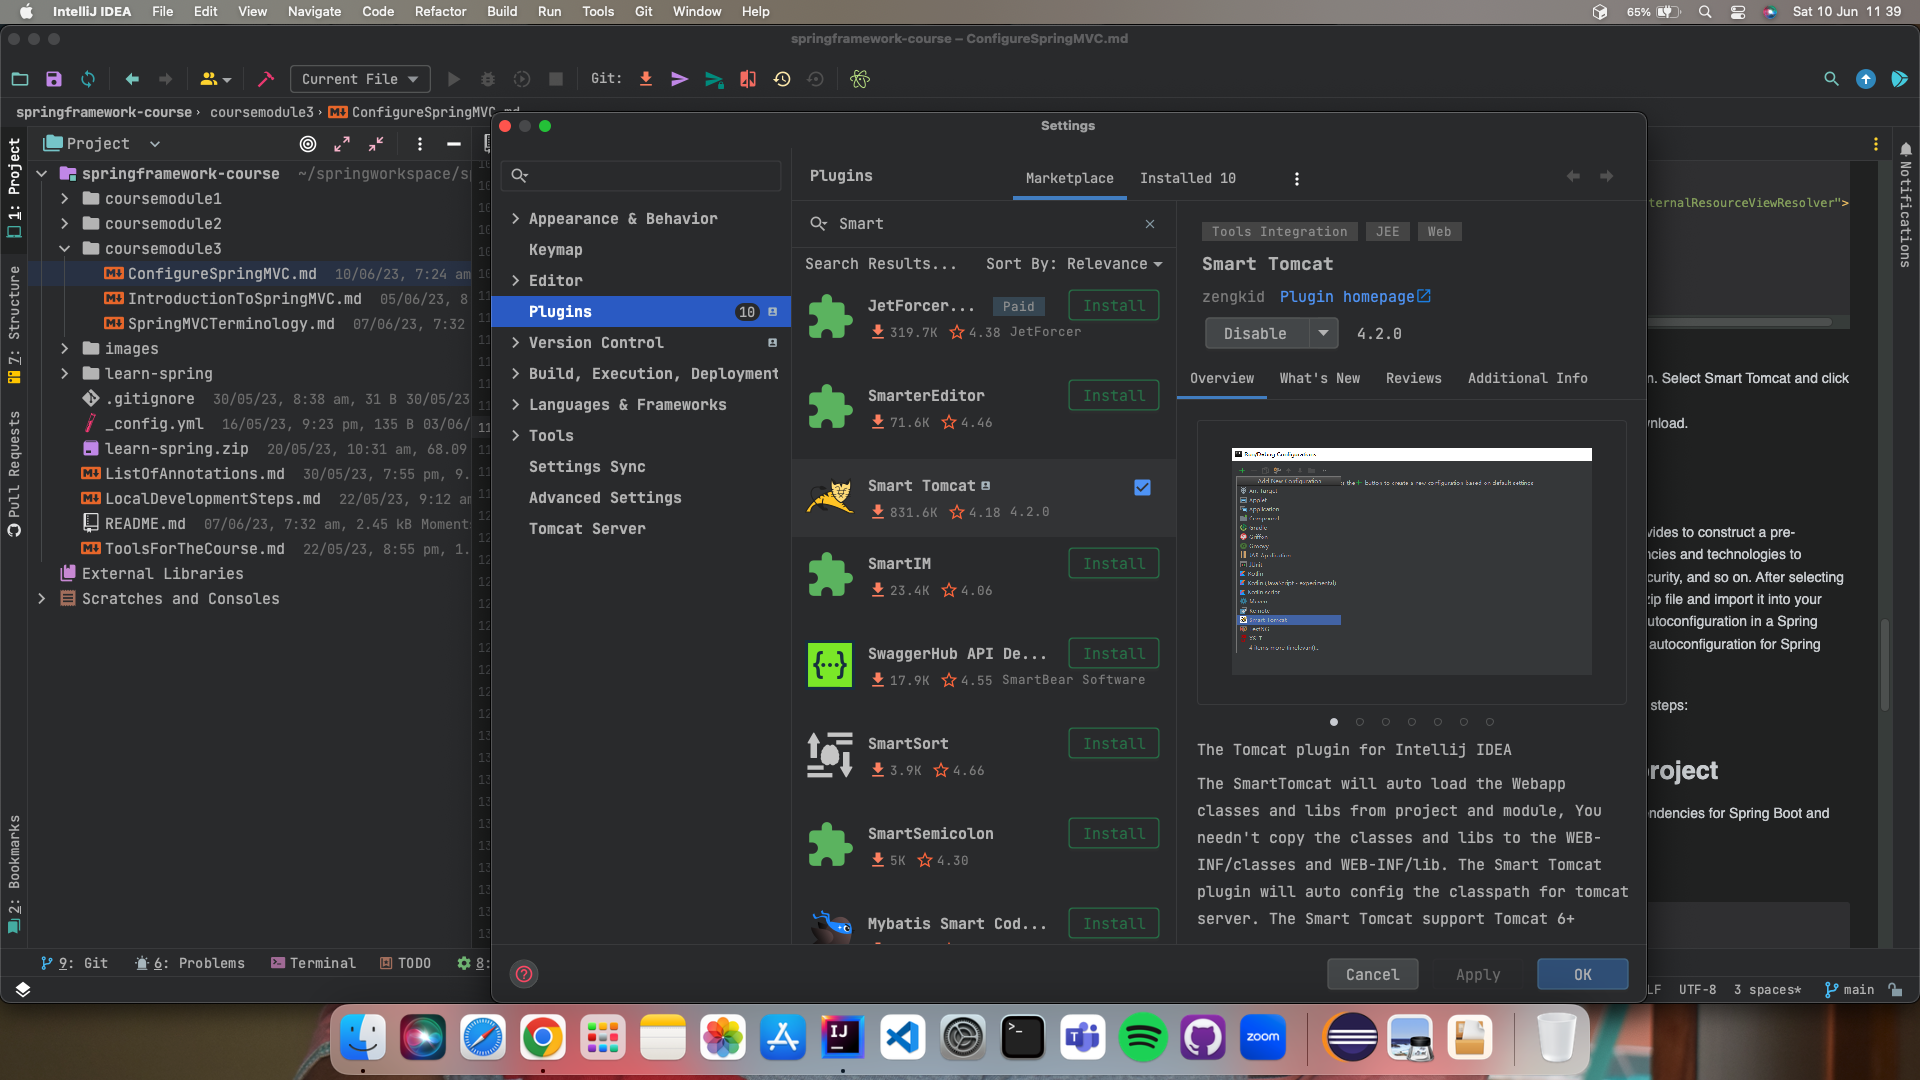
- Navigate to Run > Edit Configuration button and then click on + button. Select Smart Tomcat, fill the following
details, and click OK
- Under Configuration > Tomcat Server > navigate to the apache tomcat unzipped folder and select root the folder.
- Remaining options don’t change unless it is necessary.
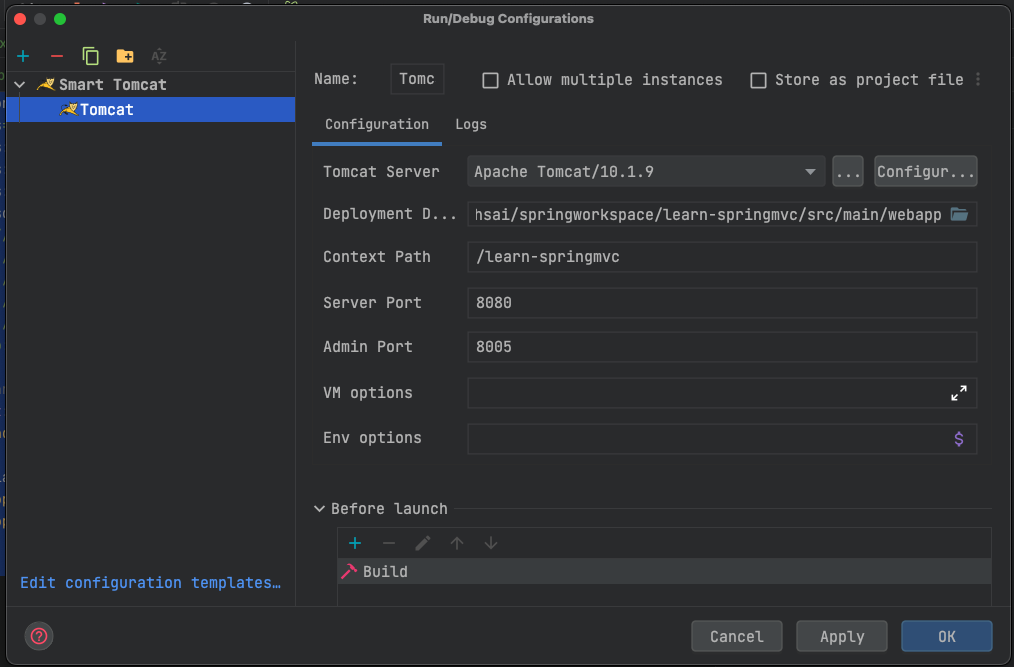
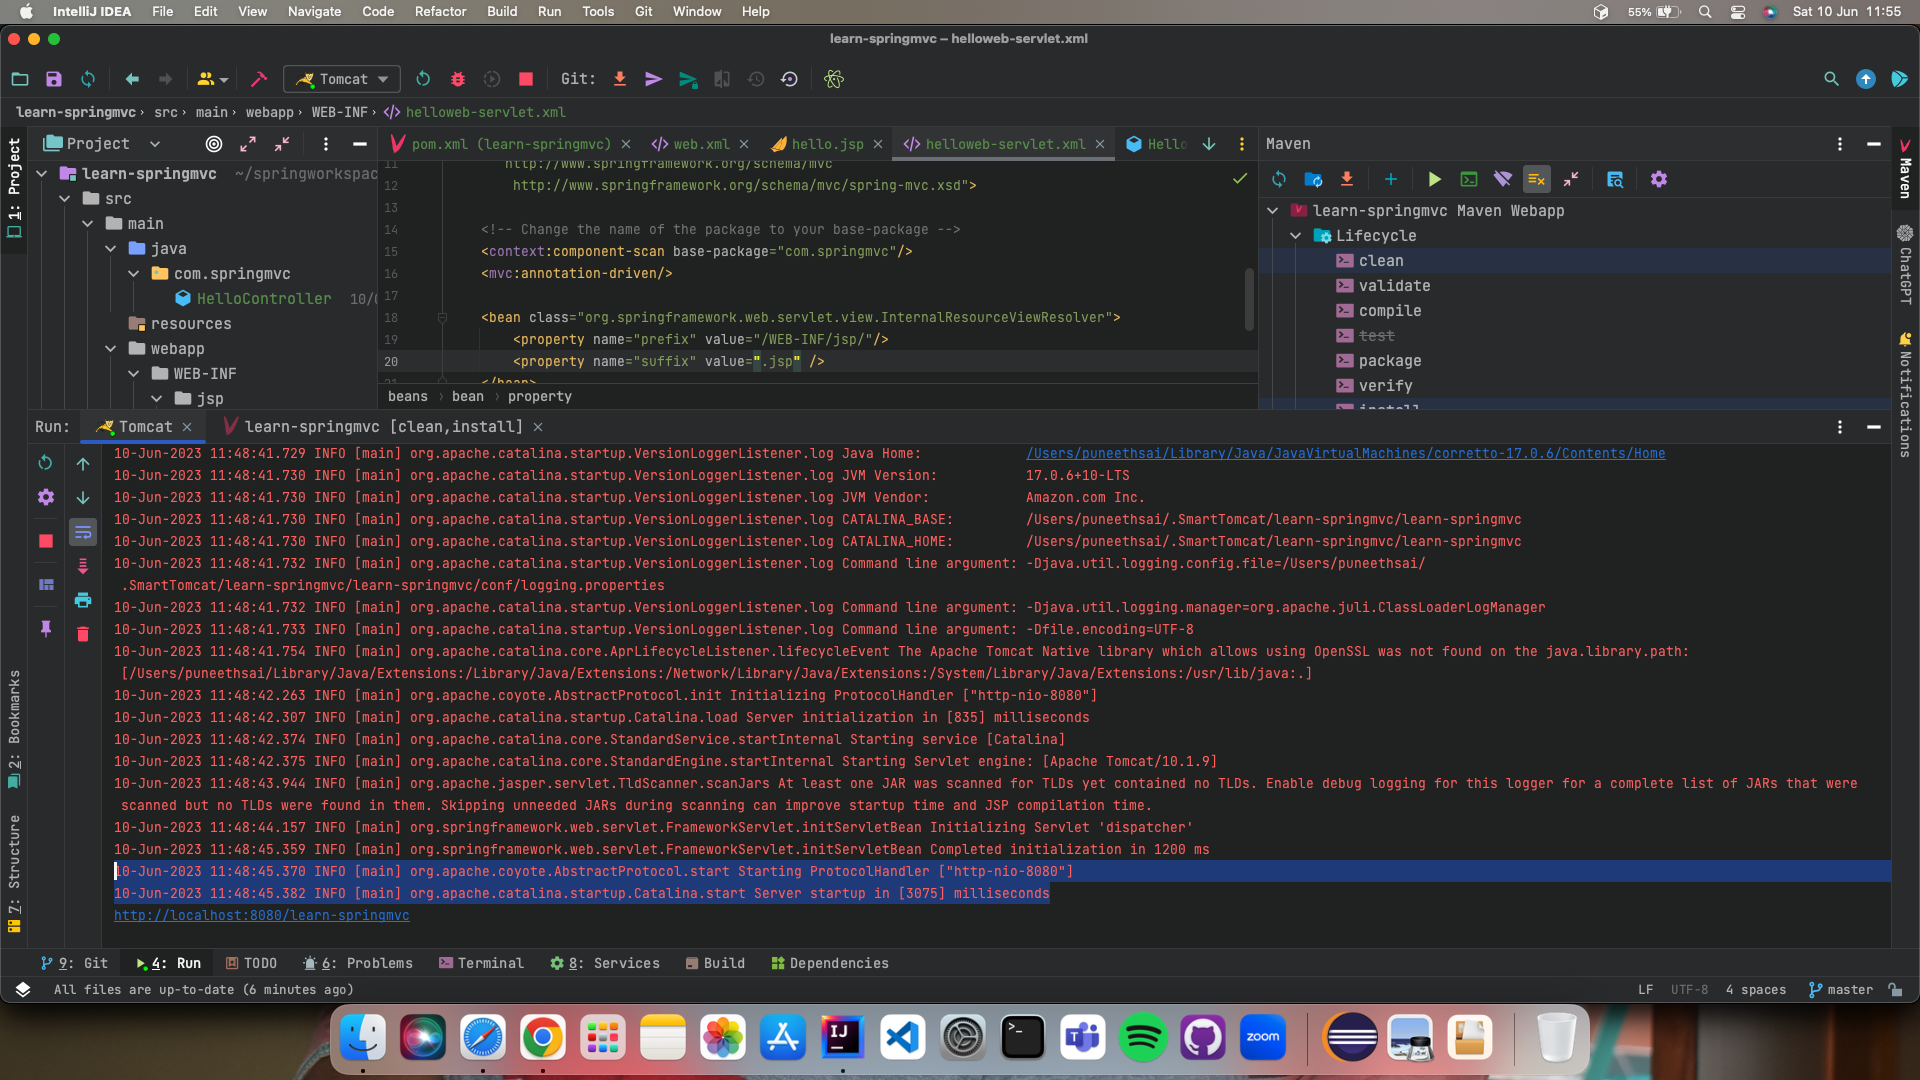
- After configuring tomcat, Click on the Maven tab on the right and select clean, install do execute for creating a war file.
- Then run the tomcat server instance, you will see the below logs
- Go to the browser and access http://localhost:8080/learn-springmvc/hello_world
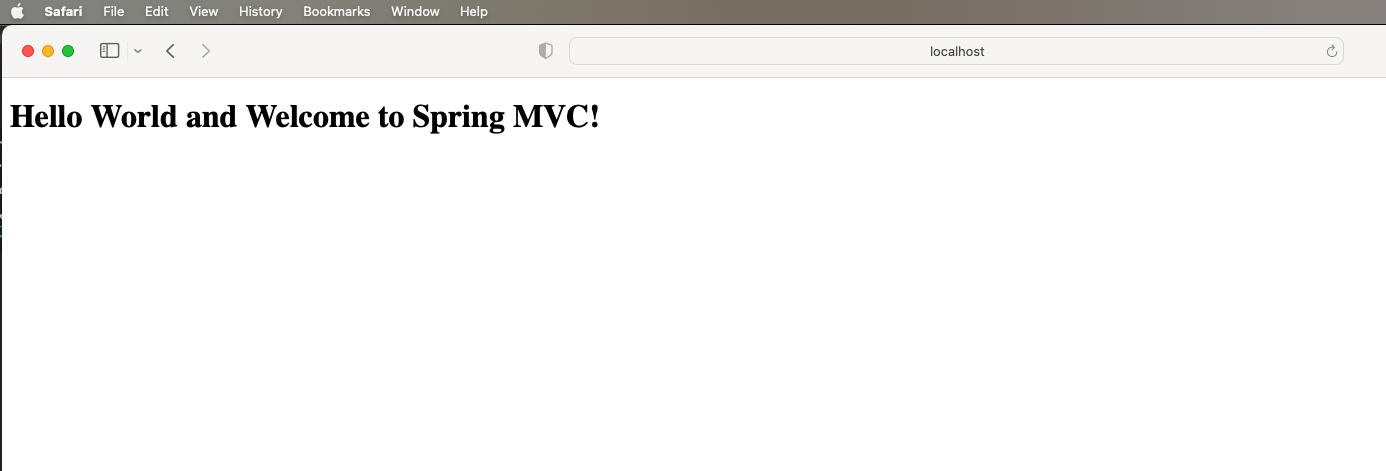
Things to keep in mind
- Controller is a Java class that has the @Controller special annotation and indicates that the class is a Spring MVC Controller.
- The Controller class, like any other java class, has java methods, however these methods are translated to web requests.
- The @RequestMapping annotations are used to link these functions to HTTP requests.
- @RequestMapping annotation contains the name of the web request such as /hello_world.
- @RequestMapping supports all types of web requests such GET, POST etc.,
- These methods will just return the name of the view page.
2. Using Spring Initializr
Spring Initializr is a web-based application that the Spring team provides to construct a pre-configured Spring project structure. It lets you choose the dependencies and technologies to integrate in your project, such as Spring MVC, database drivers, security, and so on. After selecting the required choices, you may download the project structure as a zip file and import it into your favourite integrated development environment (IDE). Spring MVC autoconfiguration in a Spring Boot application is extremely simple because Spring Boot supports autoconfiguration for Spring MVC.
To create a Spring MVC application using Spring Boot, follow these steps:
Step 1: Set up a new Spring Boot project
Create a new Maven or Gradle project and add the necessary dependencies for Spring Boot and Spring MVC. In this example, I’ll use Maven.
Add the following dependencies to your pom.xml file:
<dependencies>
    <!-- Spring Boot Starter -->
    <dependency>
        <groupId>org.springframework.boot</groupId>
        <artifactId>spring-boot-starter-web</artifactId>
    </dependency>

    <!-- Thymeleaf Template Engine (optional) -->
    <dependency>
        <groupId>org.springframework.boot</groupId>
        <artifactId>spring-boot-starter-thymeleaf</artifactId>
    </dependency>
</dependencies>
Step 2: Create a Controller
Make a new Java class that will act as a controller for your Spring MVC application. This class is responsible for handling incoming HTTP requests and defining the application’s endpoints.
package com.springcourse.learnspring.springmvc;

import org.springframework.stereotype.Controller;
import org.springframework.ui.Model;
import org.springframework.web.bind.annotation.GetMapping;

@Controller
public class HelloController {

    @GetMapping("/")
    public String helloWorld(Model model) {
        model.addAttribute("message", "Welcome to Spring MVC!");
        return "hello";
    }
}
Step3: Create a View
Create a new HTML view file in the /src/main/resources/templates directory (assuming you’re using Thymeleaf as the
template engine). For this example, let’s create a file named hello.html.
<!DOCTYPE html>
<html lang="en">
<head>
   <meta charset="UTF-8">
   <title>Spring MVC Example</title>
</head>
<body>
<h1>Spring MVC Example</h1>
</body>
</html>
Step 4: Run the Application
You may now launch your Spring Boot application i.e., LearnSpringApplication. Spring Boot will manage the startup of the embedded Tomcat server as well as the deployment of your application.
package com.springcourse.learnspring;

import org.springframework.boot.SpringApplication;
import org.springframework.boot.autoconfigure.SpringBootApplication;

@SpringBootApplication
public class LearnSpringApplication {

    public static void main(String[] args) {
        SpringApplication.run(LearnSpringApplication.class, args);
    }

}
Step 5: Test the Application
Open your web browser and visit http://localhost:8080 (assuming the application is running on the default port). You
should see the Welcome to Spring MVC! message displayed on the page.

That’s all! You’ve used Spring Boot to develop a basic Spring MVC application. In the next steps, we’ll add more controllers, views, and business logic as needed.